


A systematic approach to capturing visual evidence and essential details ensures your purchased items meet expectations before they are shipped from the warehouse.
The Importance of QC Documentation
When using a consolidation service like VigorBuy, the items you order arrive at the warehouse separately. The Quality Control (QC) Spreadsheetbefore
Step-by-Step: How to Record Information
Step 1: Access and Identify
Open your personal VigorBuy QC Spreadsheet. Locate the row corresponding to the new warehouse arrival using your order number, supplier name, or the unique parcel ID provided by VigorBuy.
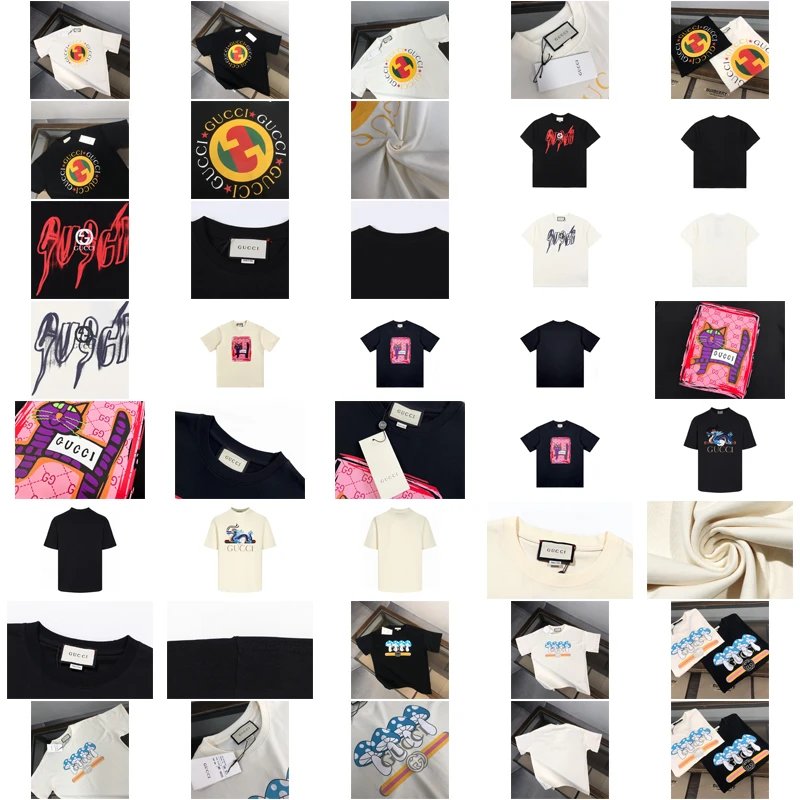
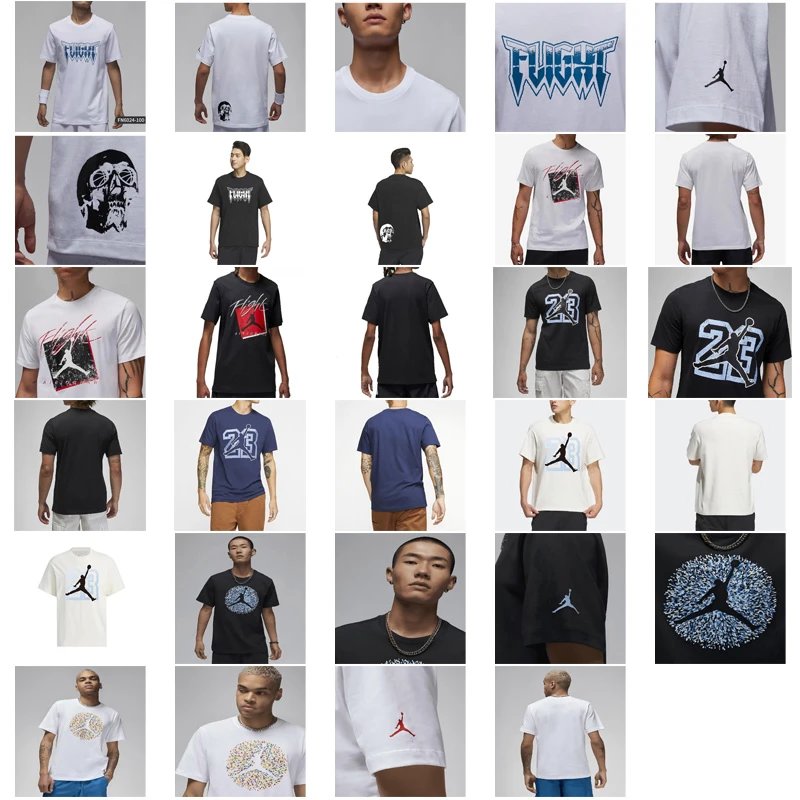
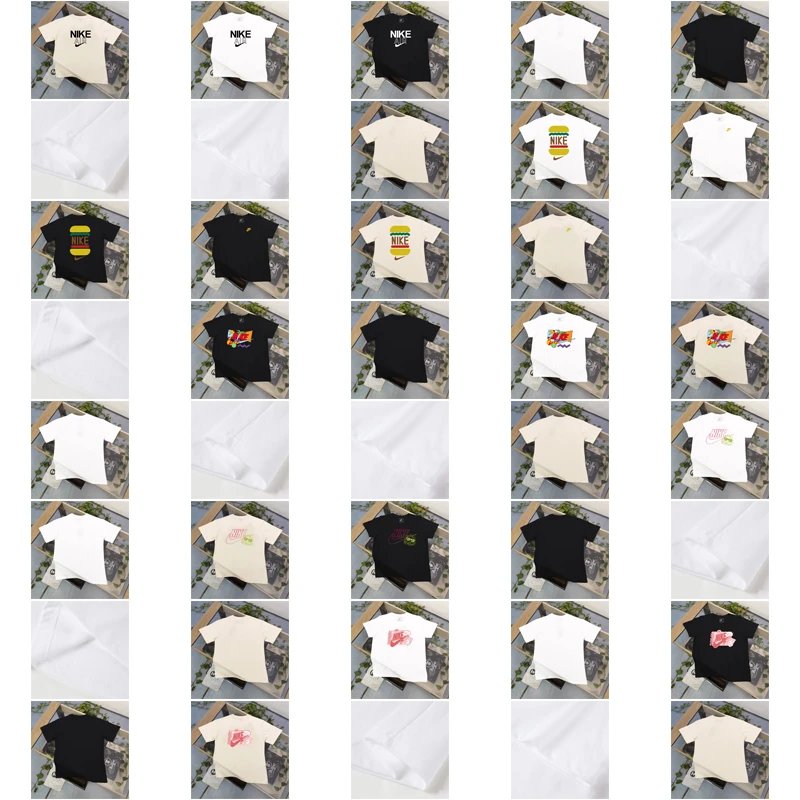
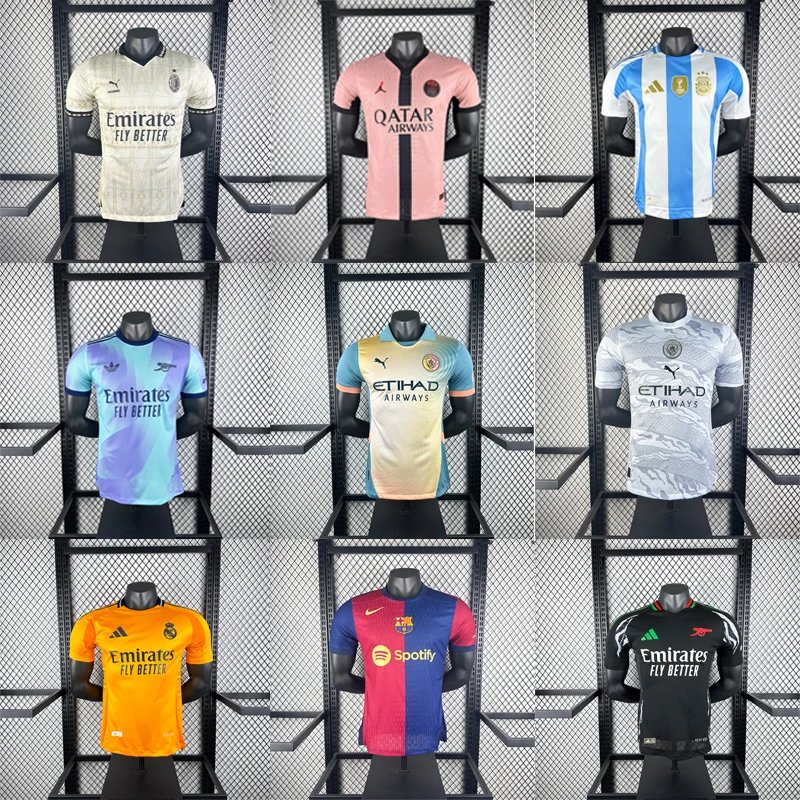
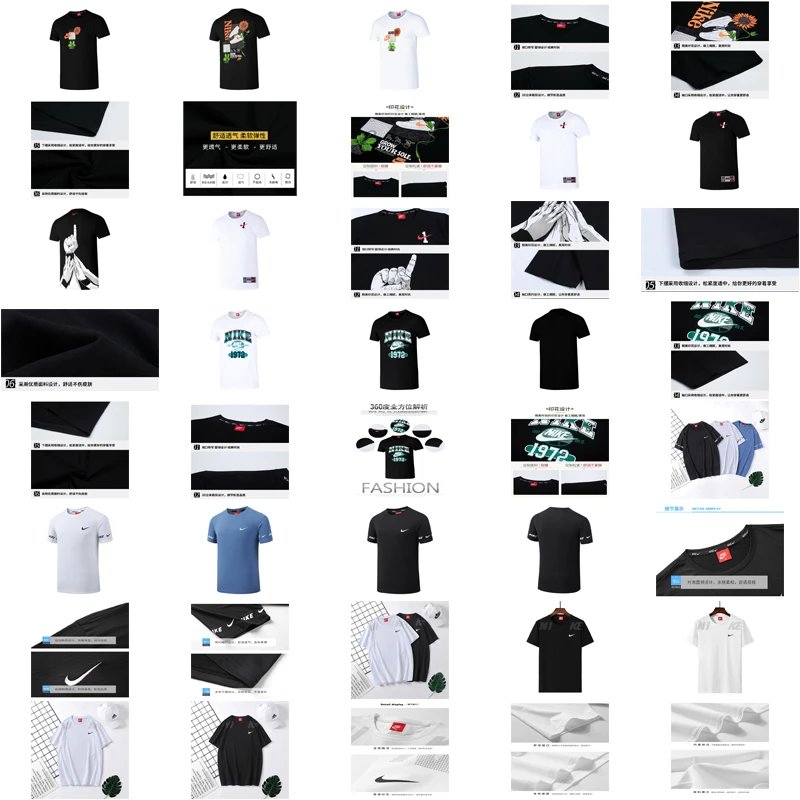
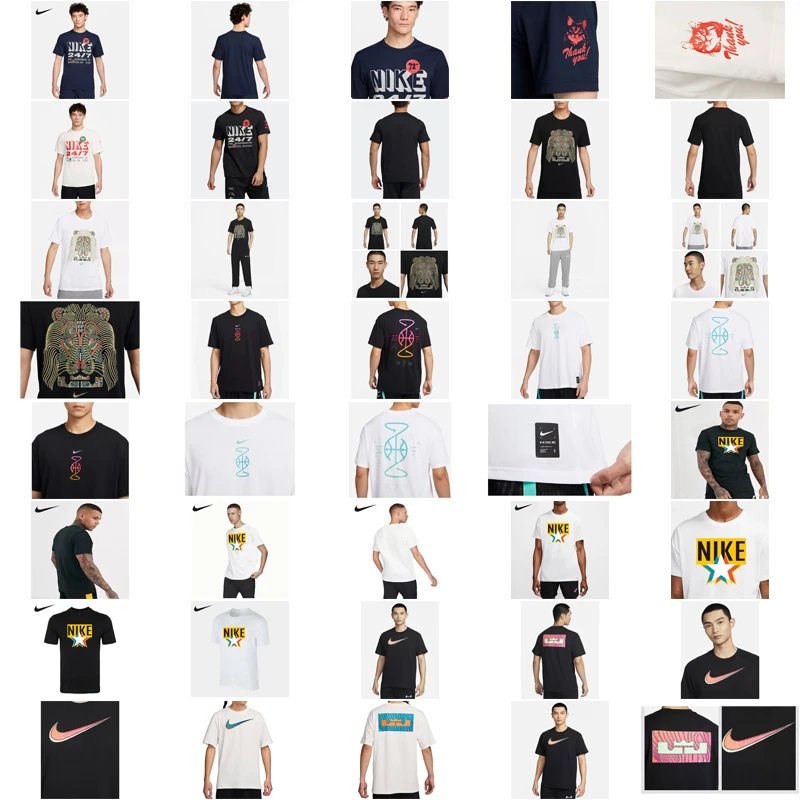
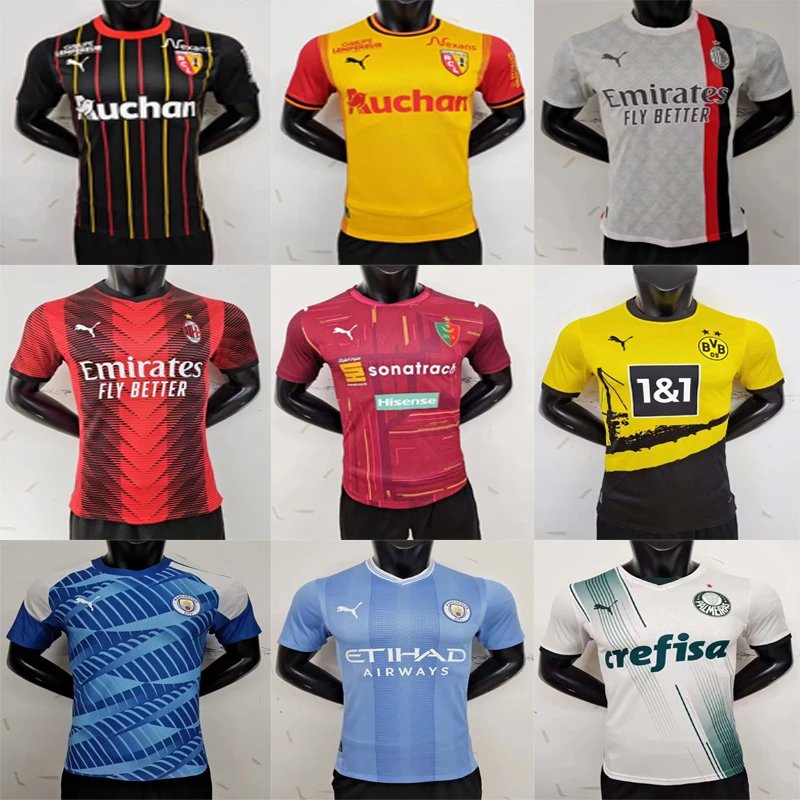
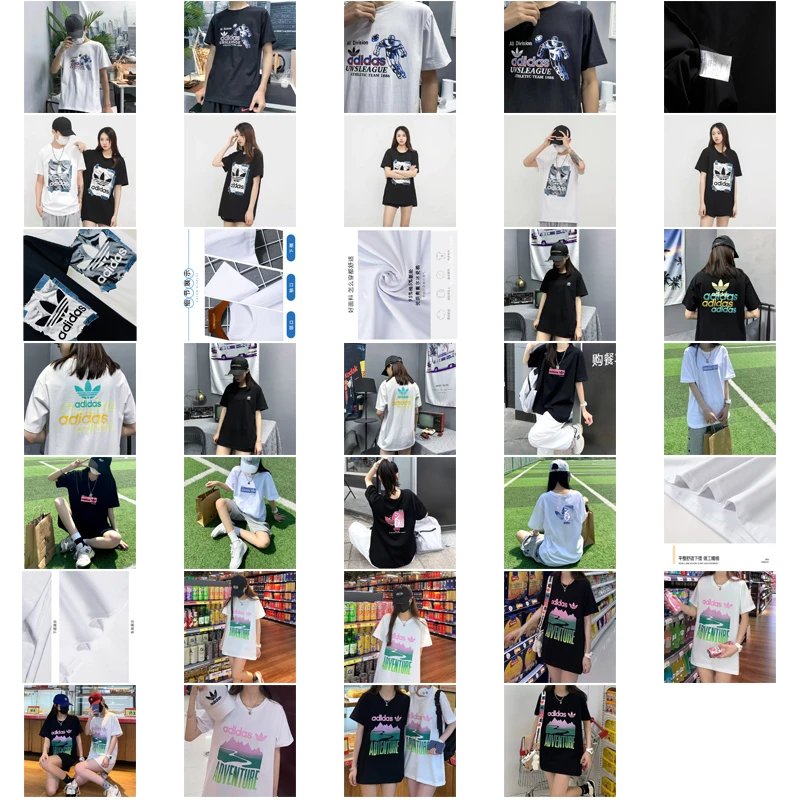
Step 2: Upload QC Photos (Visual Evidence)
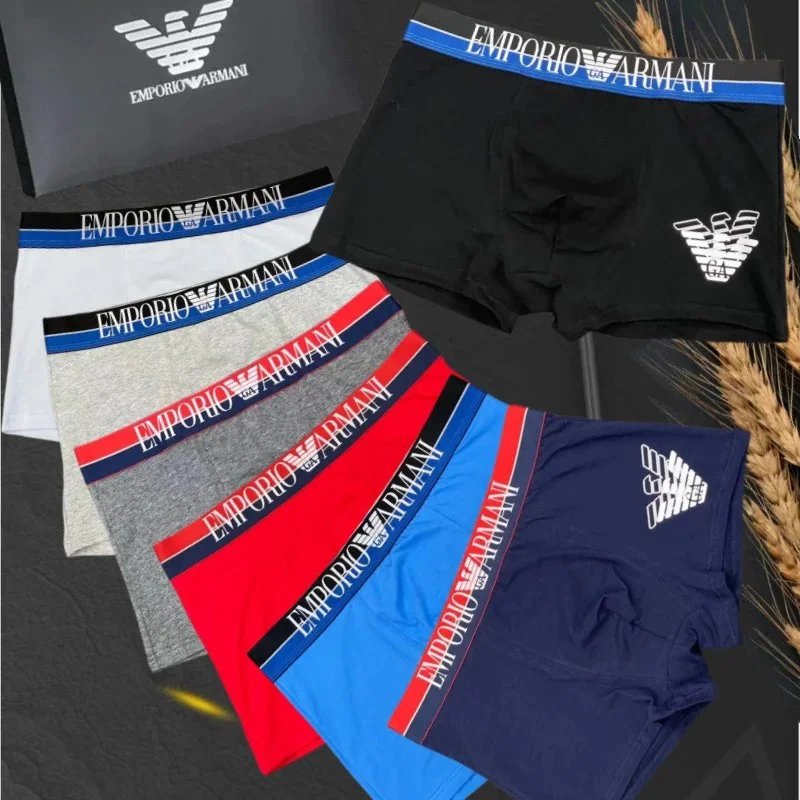
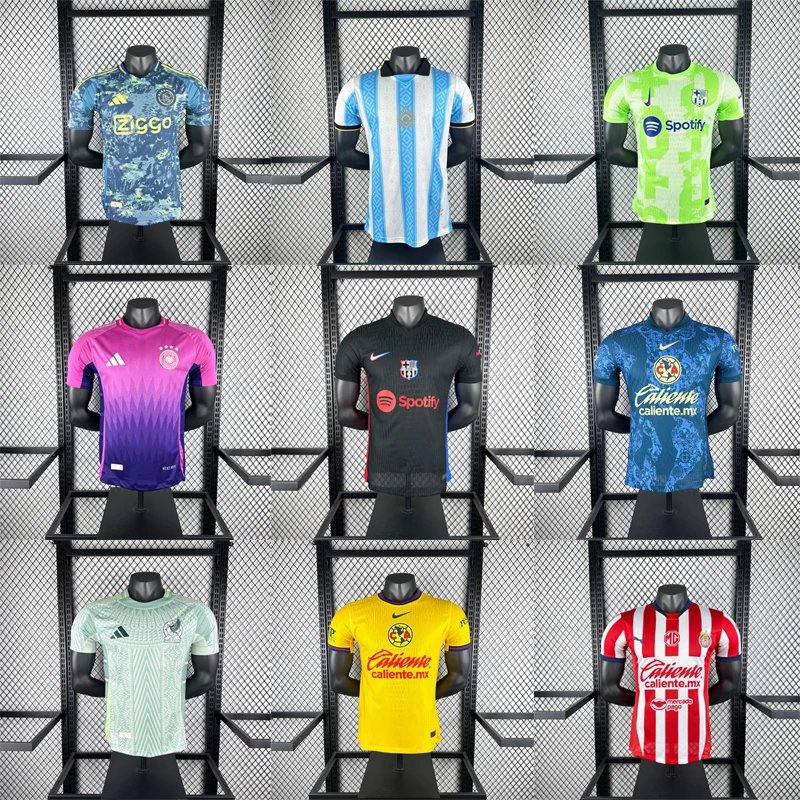
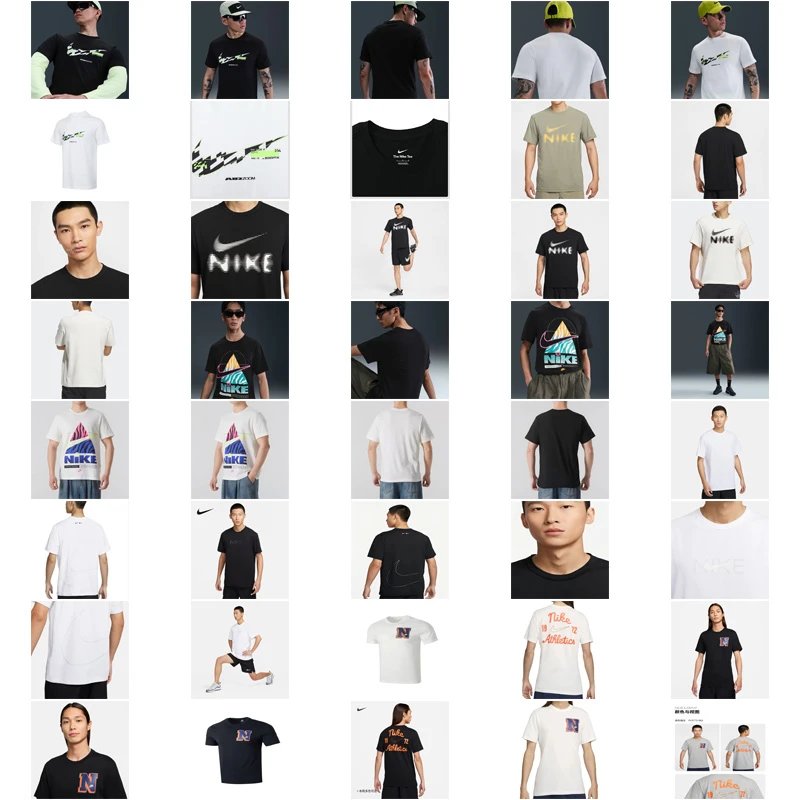
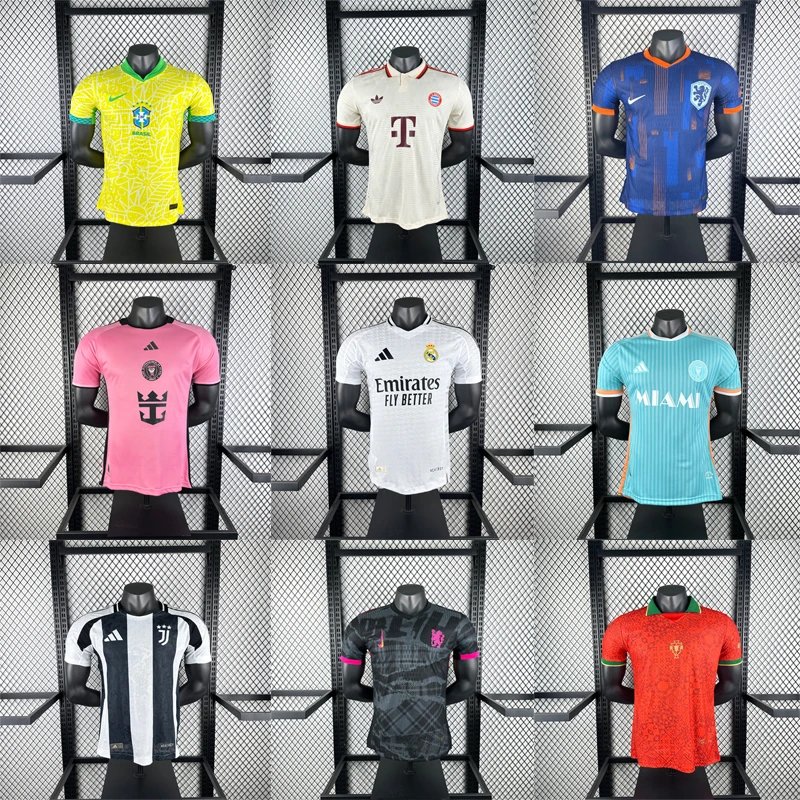
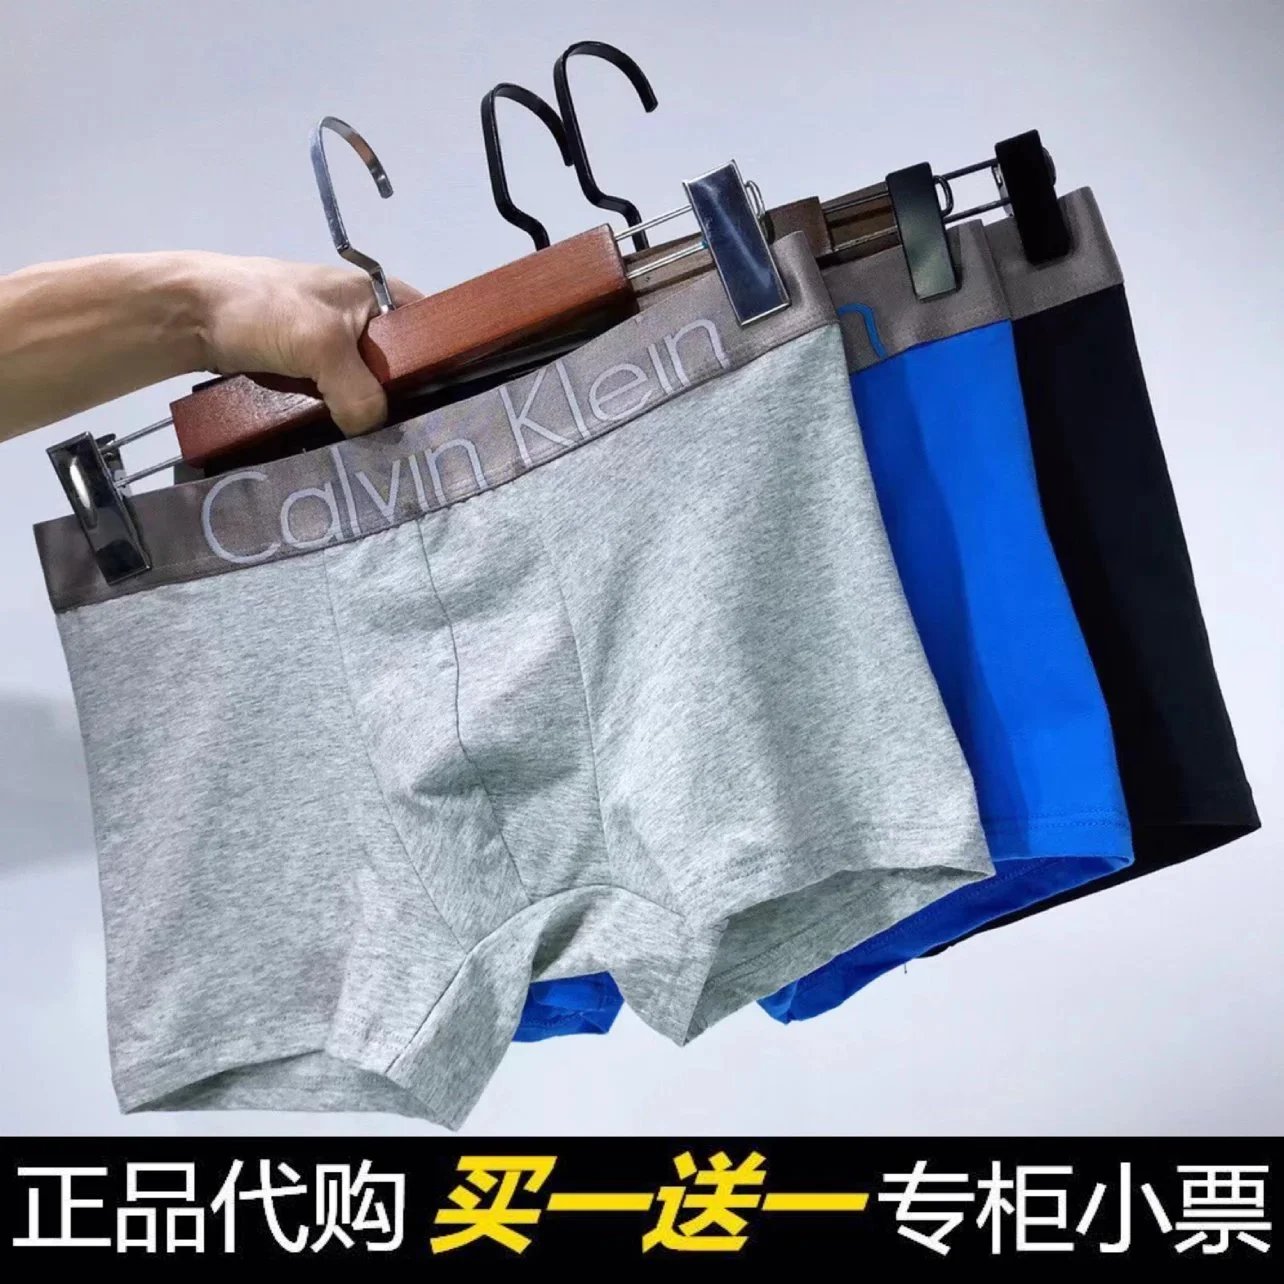
This is the most critical step for visual verification. Upload clear, well-lit photos
Example entry for the photo column:Front: [URL], Back: [URL], Size Tag: [URL], Logo Detail: [URL]
Step 3: Log Essential Product Details
Fill in the corresponding columns in the spreadsheet row completely and accurately.
| Column Header | What to Record |
|---|---|
| Item Description | Be specific, e.g., "Men's Cotton Oxford Shirt - Navy Blue - Striped Pattern". |
| Expected Size/Model | The size you ordered (e.g., "L", "US 10", "iPhone 15 Pro Max 256GB Blue"). |
| Received Size/Model | Physically check and record what the item's tags/box state. Highlight any discrepancy. |
| Color/Design | Confirm the actual color and design against your order. |
| Condition Notes | Note any flaws, damage, dirt, or imperfections. If perfect, state "No visible issues". |
Step 4: Finalize & Mark Status
Once all information is logged and you have reviewed the evidence, update the "QC Status""Approved - Ready to Ship", "Rejected - Issue Notified", or "Pending Supplier Response". Add any final comments in the "Remarks" column.
Best Practices for Effective QC
- Be Proactive & Timely:
- Clarity is Key:
- Detail-Oriented:
- Communication:
- Clarity is Key: